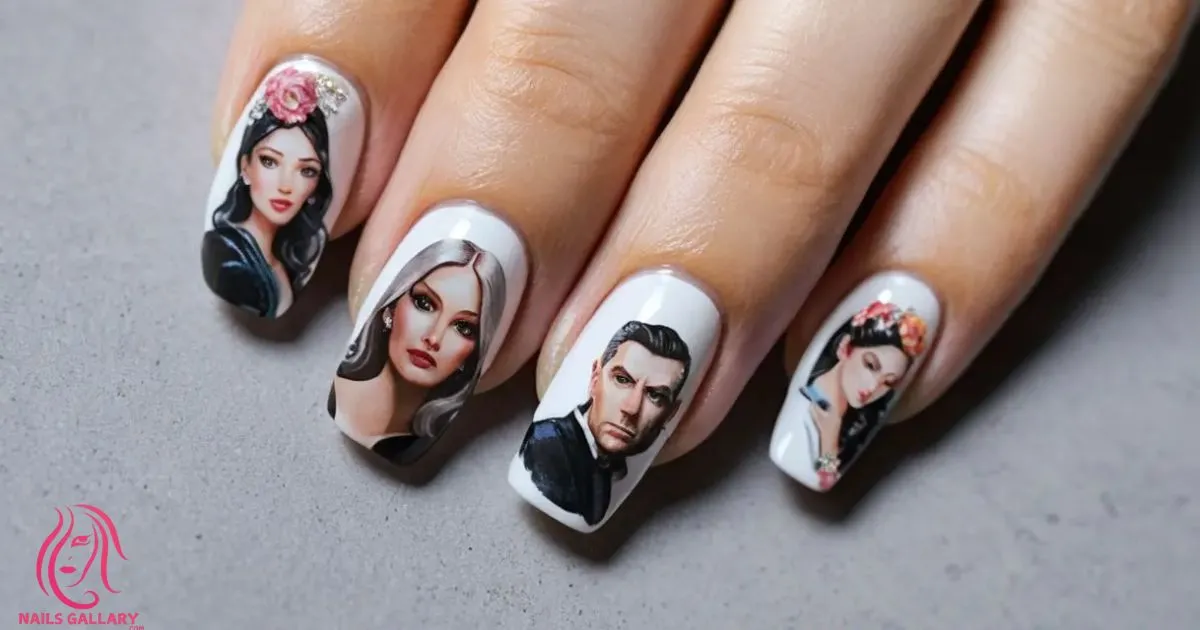
“Transform your nails into a canvas with stunning portrait nail designs that tell a story!”
Portrait nail design is an artistic and creative way to express your personality and style through nail art. Whether you want to showcase a beloved pet, a favorite celebrity, or even a self-portrait, this trend allows you to turn your nails into a miniature masterpiece. The beauty of portrait nails lies in their ability to convey emotions and stories, making them a popular choice for those who love to stand out.
In this article, we will explore various techniques and tips for creating stunning portrait nail designs. From choosing the right tools to exploring different themes, you’ll find all the inspiration you need to embark on your nail art journey. Get ready to unleash your inner artist and adorn your nails with beautiful portraits!
List for Portrait Nail Design
1. Choosing Your Portrait Subject
Decide on the subject of your portrait nail design. It could be anything from a favorite character to a loved one or a pet. Selecting a subject that resonates with you will make the design more meaningful and personal.
2. Gathering Necessary Supplies
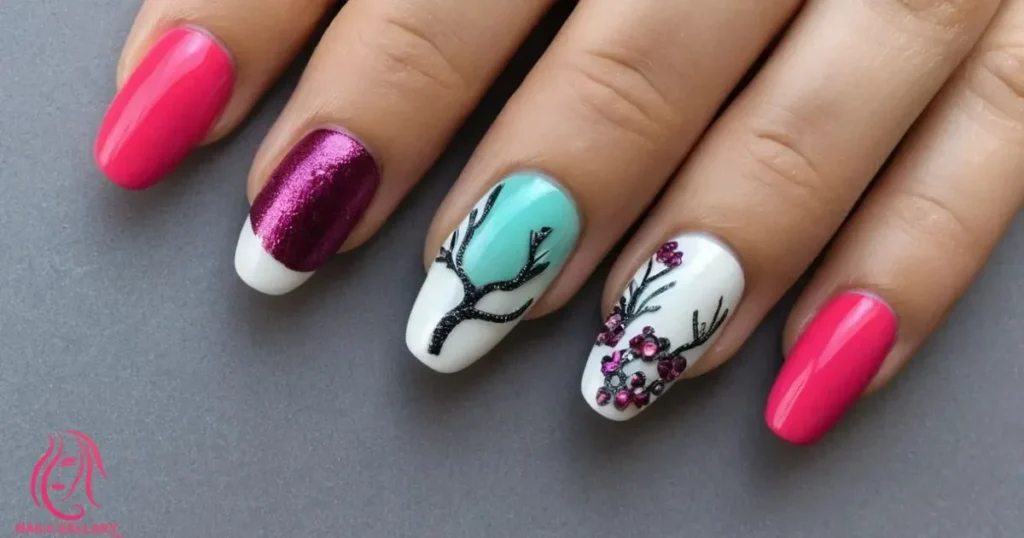
Prepare all the necessary supplies for your portrait nail art. This typically includes nail polish, brushes, dotting tools, and a good base coat. Having everything ready will streamline your process and make it more enjoyable.
3. Preparing Your Nails
Before starting your design, ensure your nails are clean and prepped. Remove any old polish, trim and shape your nails, and apply a base coat to protect them and create a smooth surface for your artwork.
4. Selecting Base Colors
Choose a base color that complements your portrait. Light or neutral shades work well for a clean background, allowing the details of your portrait to stand out. Consider colors like pastel pinks or soft blues for a gentle look.
5. Sketching Your Design
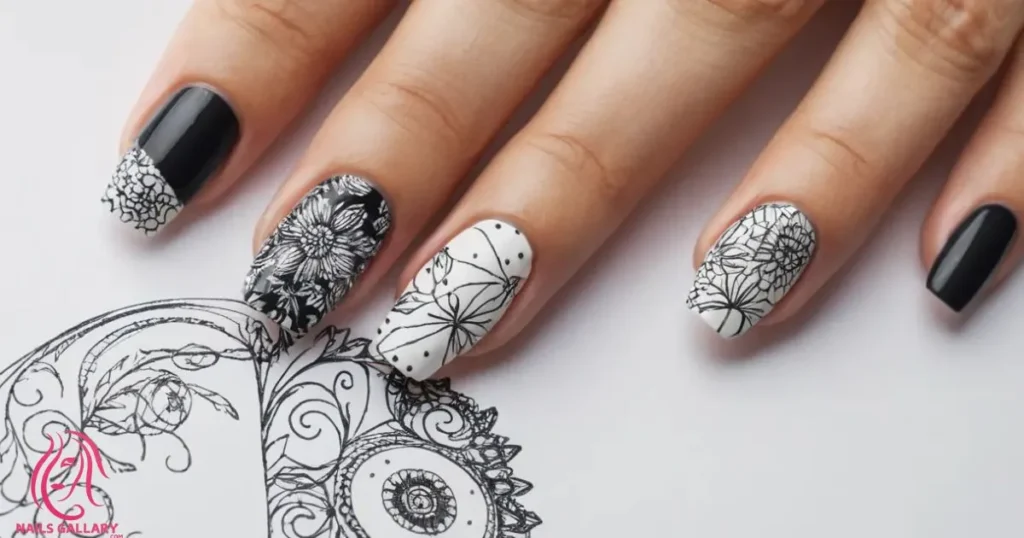
Lightly sketch your portrait on your nails using a fine brush or nail pencil. This step helps you plan out the layout and proportions, making it easier to fill in the details later. Don’t worry about perfection—this is just a guideline!
6. Using Nail Art Brushes
Invest in quality nail art brushes for detailed work. Different brush sizes allow for greater precision in creating facial features, hair, and other elements of your portrait. Flat brushes work well for filling large areas, while finer brushes are perfect for details.
7. Building Layers
Start painting your portrait with layers. Begin with the basic shapes and colors, gradually adding depth and detail. Use lighter colors for highlights and darker shades for shadows to create dimension in your design.
8. Incorporating Background Elements
Consider adding background elements to enhance your portrait design. This could be a simple gradient, a solid color, or even floral patterns that complement the main portrait, adding context and interest.
9. Adding Fine Details
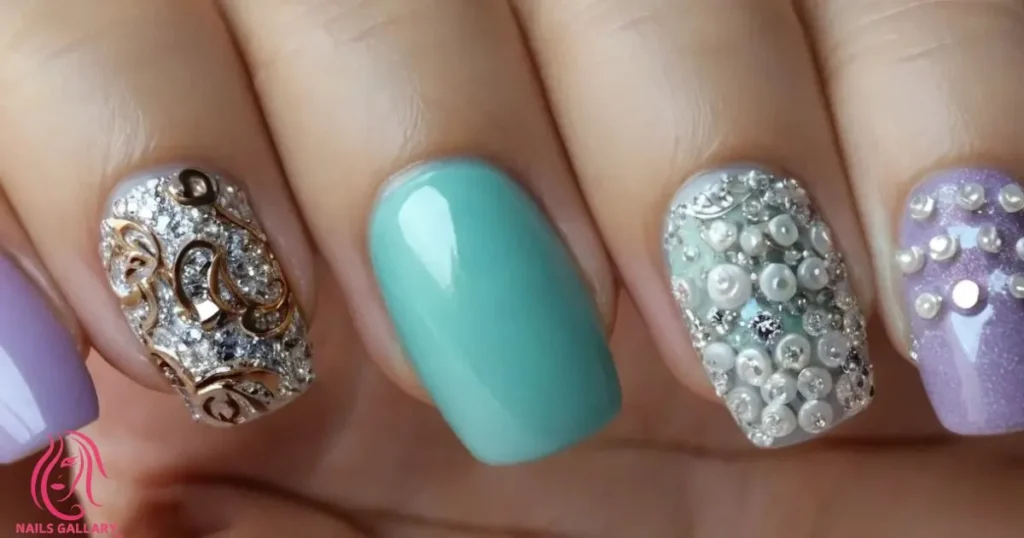
Use a fine brush or a dotting tool to add fine details, such as eyes, lips, and textures. This is where your portrait will come to life, so take your time and focus on getting the features just right.
10. Utilizing Stencils
For those who may find freehand painting challenging, consider using stencils for your portrait. Nail art stencils can help you achieve cleaner lines and more accurate shapes, making your design process easier.
11. Creating a Cartoonish Style
If you prefer a fun and playful approach, opt for a cartoonish style in your portrait design. Use bold colors, exaggerated features, and simplified shapes to create a whimsical effect that adds a unique twist to your nails.
12. Experimenting with Abstract Portraits
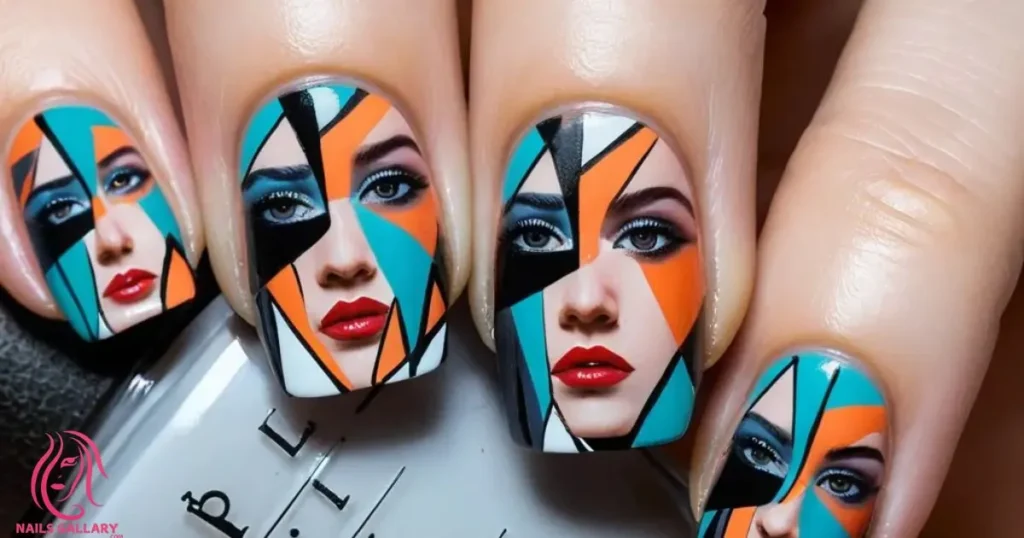
Explore the world of abstract portraits for a modern twist. This style allows for creative freedom with shapes, colors, and brush strokes, making each nail a unique work of art that represents the essence of your subject.
13. Incorporating Textures
Add visual interest to your design by incorporating textures. This can be achieved with techniques like sponging, striping, or using nail foils. Textures can enhance the overall look and make your portrait nails stand out even more.
14. Working with Nail Wraps
If painting isn’t your forte, consider using nail wraps featuring portrait designs. These adhesive designs can easily be applied to your nails, providing a detailed portrait look without the need for intricate painting.
15. Focusing on One Nail
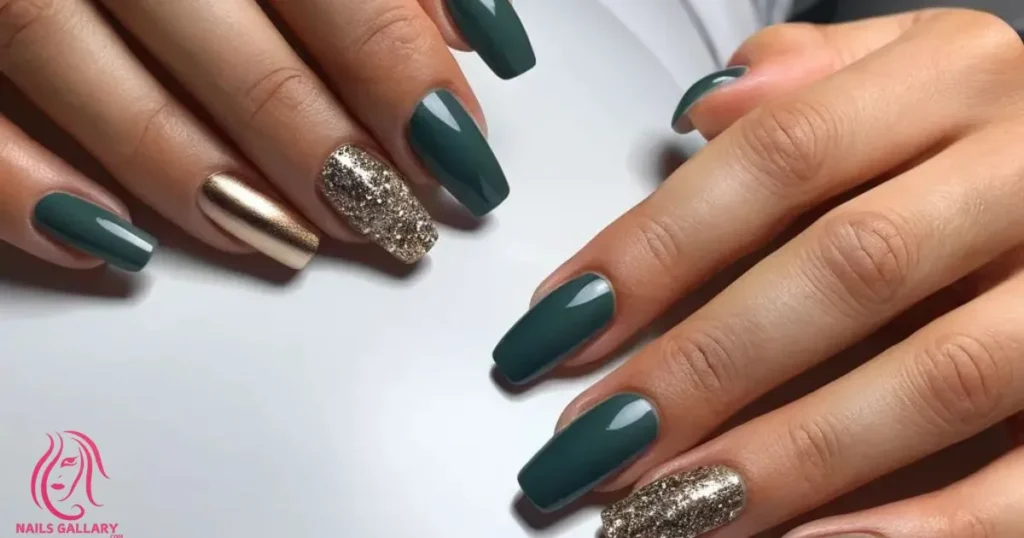
Instead of painting a portrait on every nail, choose to focus on one accent nail. This approach allows you to showcase your artwork without overwhelming your overall look, making it a chic statement piece.
16. Adding Glitter Accents
Enhance your portrait nails with glitter accents. Apply glitter around the portrait or in specific areas to add sparkle and draw attention to your artwork, making it festive and fun.
17. Incorporating Nail Gems
Add nail gems or rhinestones to accentuate your portrait design. Place them strategically around the portrait or along the cuticle line for a touch of glamour that enhances your nail art.
18. Using Color Blocking
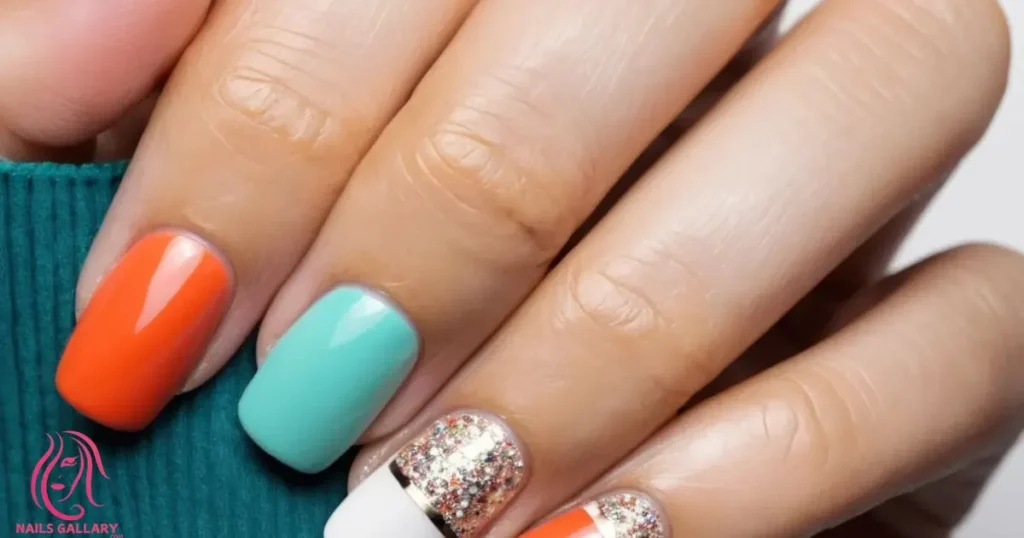
Experiment with color blocking techniques by using contrasting colors around your portrait. This method can make your portrait pop and give your nails a modern and artistic feel.
19. Creating a Themed Set
Consider creating a themed set of nails. For example, if your portrait is of a character from a movie, design complementary nails that reflect elements from that film, enhancing the overall theme.
20. Applying a Top Coat
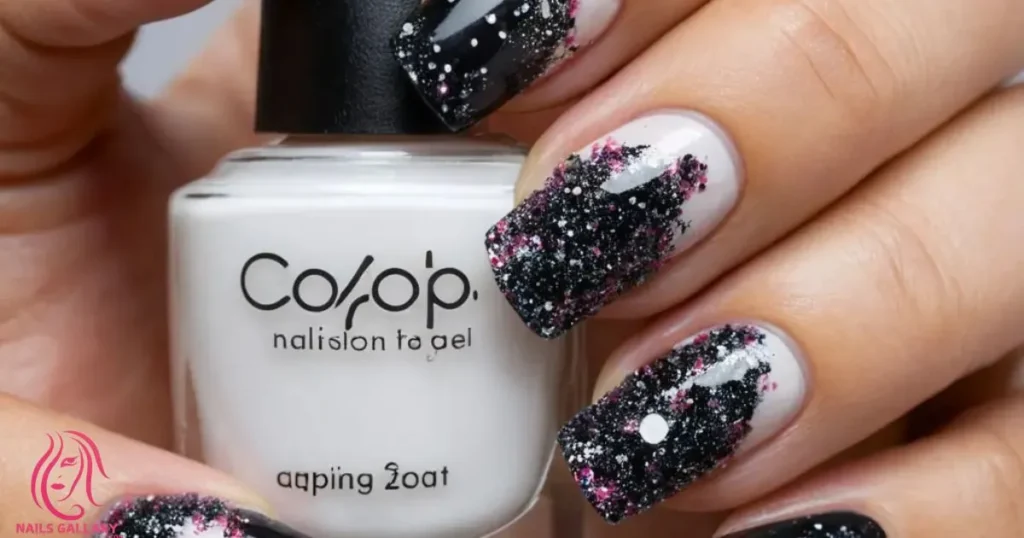
Seal your design with a top coat to protect your artwork and add shine. A glossy top coat enhances the vibrancy of your colors and ensures your portrait nails last longer.
21. Taking Care of Your Nails
After creating your portrait nail design, it’s essential to take care of your nails. Use cuticle oil to nourish the skin around your nails and keep them healthy. Regular maintenance will keep your artwork looking fresh.
22. Customizing for Special Occasions
Customize your portrait nails for special occasions like birthdays, holidays, or events. This personalization adds a thoughtful touch, making your nails a conversation starter and a reflection of your celebration.
Vibrant Neon Heart Nail Art Ideas
23. Finding Inspiration Online
Browse social media platforms like Instagram or Pinterest for inspiration. Many artists share their portrait nail designs, providing ideas and techniques to incorporate into your own creations.
24. Taking a Nail Art Class
If you’re passionate about nail art, consider taking a nail art class to improve your skills. Many online tutorials and local workshops offer valuable tips and techniques to help you master portrait designs.
25. Documenting Your Work
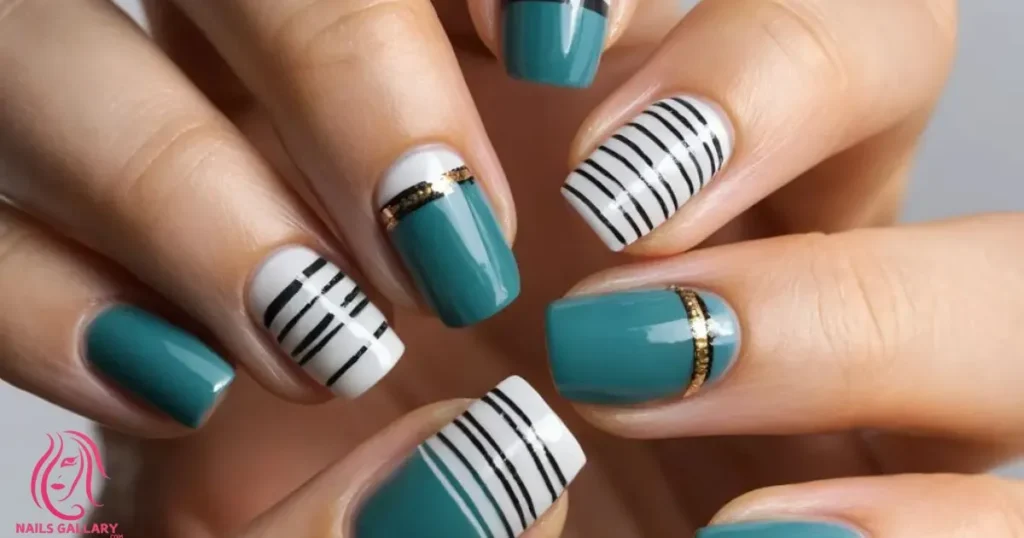
Don’t forget to document your creations! Take pictures of your portrait nails to showcase your artistic journey. Sharing your work online can inspire others and connect you with fellow nail art enthusiasts.
26. Enjoying the Process
Finally, remember to enjoy the process of creating your portrait nails. Nail art is a form of self-expression and creativity, so have fun experimenting with different styles and techniques!
Conclusion
With these tips and ideas, you’re now equipped to create stunning portrait nail designs that showcase your unique style and creativity. Whether you opt for a simple design or an intricate masterpiece, portrait nails are a fantastic way to express your personality and make a statement. So gather your supplies, unleash your artistic flair, and let your nails tell a story!

Hi! I’m Lauren Reynolds, a beauty blogger who enjoys blending classic and contemporary styles to create stunning, unique Nail and Hairs looks.
