“Brighten your nails with a fun and festive Easter Peeps Holiday Design that celebrates springtime sweetness!”
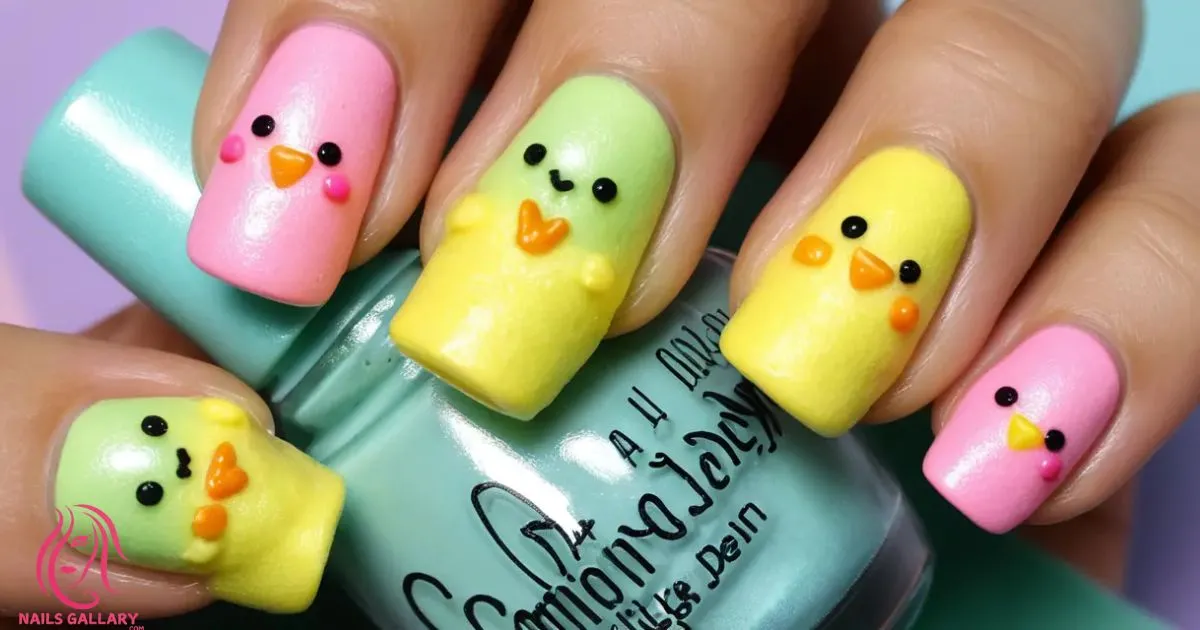
Easter is a time for joy, celebration, and, of course, adorable treats like Peeps! This Easter Peeps Holiday Nail Design captures the spirit of the holiday with vibrant colors and cute marshmallow-inspired nail art. Featuring pastel hues and playful chick and bunny motifs, this design will put a smile on your face and get you in the mood for spring.
Let’s explore how to create this delightful nail design, along with tips and tricks to make it stand out!
List for Easter Peeps Holiday Design
1. Choosing the Right Base Colors
Start with a soft pastel base that mimics the classic colors of Peeps. Think pale pinks, yellows, blues, and purples. These light shades create a cheerful and fresh backdrop for your Easter-themed nail art.
2. Creating a Smooth Finish
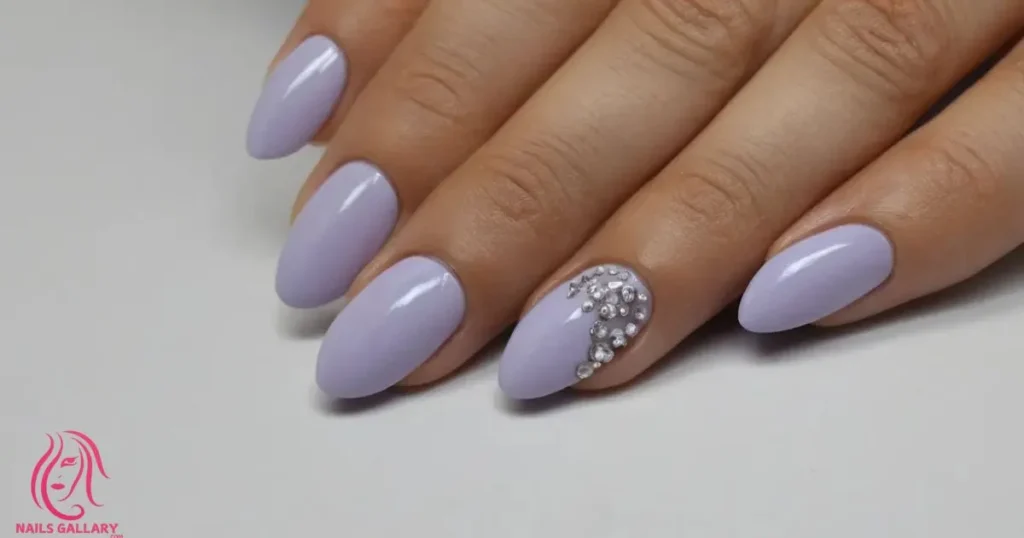
Ensure a smooth finish on your nails by applying a base coat before your colored polish. A good base coat helps the polish adhere better and prevents chipping, providing a clean canvas for your design.
3. Incorporating Peeps Characters
Add the iconic Peeps characters—cute little chicks and bunnies—onto your nails. You can either use stickers, decals, or hand-paint them for a more personalized touch. This adds a playful element to your nail art.
4. Using Nail Art Brushes for Details
If you’re hand-painting, use fine nail art brushes for detailing. These brushes allow you to create intricate designs, like the facial features of the Peeps, ensuring they look adorable and realistic.
5. Creating a Candy Texture
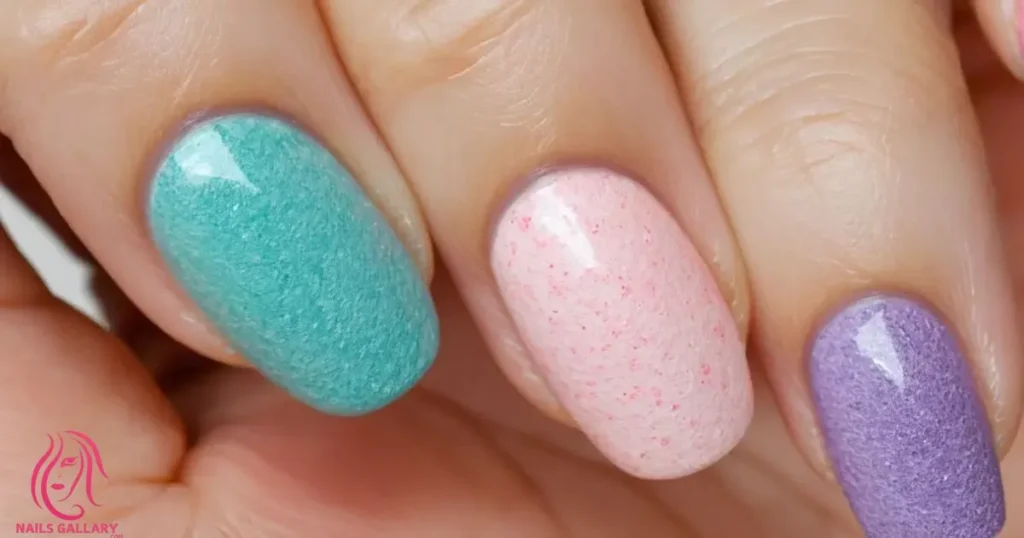
To mimic the sugary texture of Peeps, consider applying a textured top coat after your design is complete. This will give your nails a unique, fun feel, similar to the marshmallow treats.
6. Pastel Ombre Effect
For a trendy twist, create a pastel ombre effect on some of your nails. Blend two or three pastel colors together, fading from one to another. This adds depth and enhances the overall design.
7. Adding Easter Eggs as Accents
Decorate some nails with hand-painted or sticker Easter eggs. These colorful eggs complement the Peeps theme and add an extra layer of festivity to your nail design.
8. Incorporating Glitter for Sparkle
Add a touch of glamour by applying glitter polish over some nails or as accents around the Peeps. Glitter catches the light and adds a festive sparkle that enhances the playful vibe.
9. Creating Bunny Ear Accents
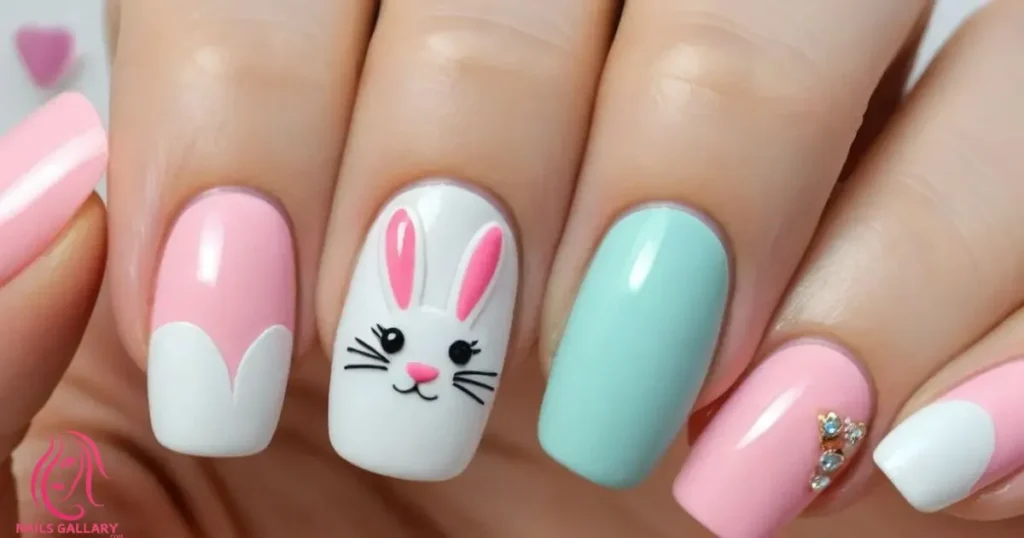
If you’re featuring bunny Peeps, create tiny bunny ear accents on some nails. Use white polish to draw ears at the tip of your nails for a cute and whimsical touch.
10. Using Dotting Tools for Fun Patterns
Use a dotting tool to create fun patterns like polka dots or flowers around the Peeps characters. This adds more visual interest and texture to your design.
11. Choosing the Right Nail Shape
Consider a rounded or oval nail shape to complement the soft, playful theme of the Easter Peeps. These shapes are often more feminine and suit the overall aesthetic.
12. Incorporating Spring Flowers
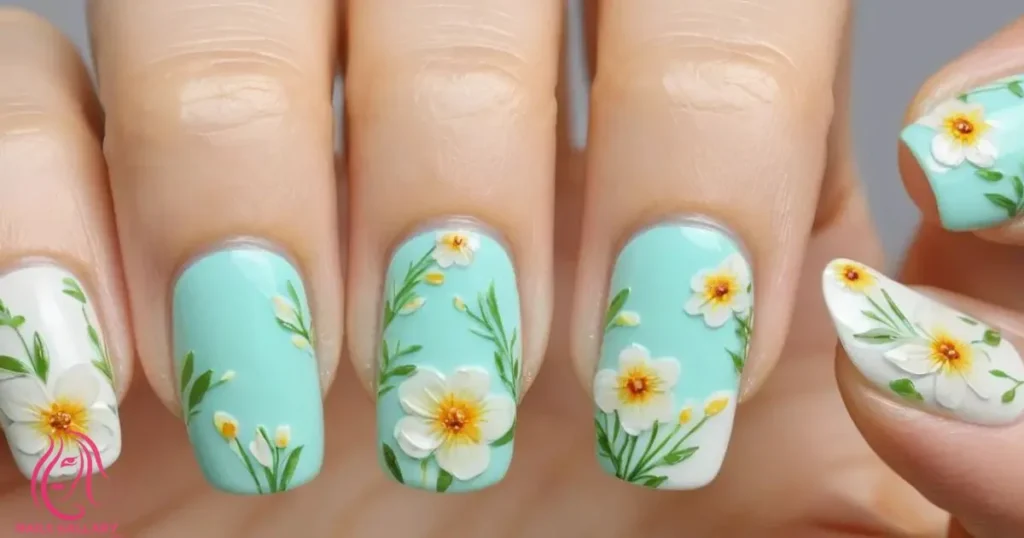
Add small hand-painted or sticker spring flowers around the Peeps. Flowers like daisies or tulips enhance the seasonal feel and bring a touch of nature to your nails.
13. Accent Nails with Full Peeps Art
Choose one or two accent nails to feature full Peeps designs, while keeping the others simpler. This creates a focal point without overwhelming the overall look.
14. Using a Matte Top Coat
For a modern twist, consider using a matte top coat over your design. The matte finish can create a soft, subtle look that contrasts beautifully with the bright colors of the Peeps.
Creative Graffiti Heart Nail Designs for a Bold Look
15. Incorporating a Basket Weave Pattern
Create a basket weave pattern on some nails to mimic Easter baskets. Use a light brown polish to paint lines and give the impression of weaving, which adds a unique touch.
16. Adding a Happy Easter Message

Incorporate a small “Happy Easter” message on one of the nails. Use a fine brush for neat lettering in white or gold, making it a cheerful part of your nail design.
17. Creating a Rainbow Effect
Use the colors of Peeps to create a rainbow effect across your nails. Paint each nail a different pastel shade in a rainbow order for a cohesive and vibrant look.
18. Using Rhinestones for Detail
Add tiny rhinestones to the Peeps or around the nails for a sparkling effect. Rhinestones can act as eggs or even embellishments that make your design pop.
19. Incorporating Clouds and Sky Background

Paint a soft sky background with light blue polish on some nails, adding fluffy white clouds. This can create a cute scene where the Peeps are “floating” in the sky.
20. Combining Different Nail Techniques
Mix various techniques, such as striping, dotting, and sponging, to create an intricate design. This variation keeps the look dynamic and visually engaging.
21. Utilizing Negative Space
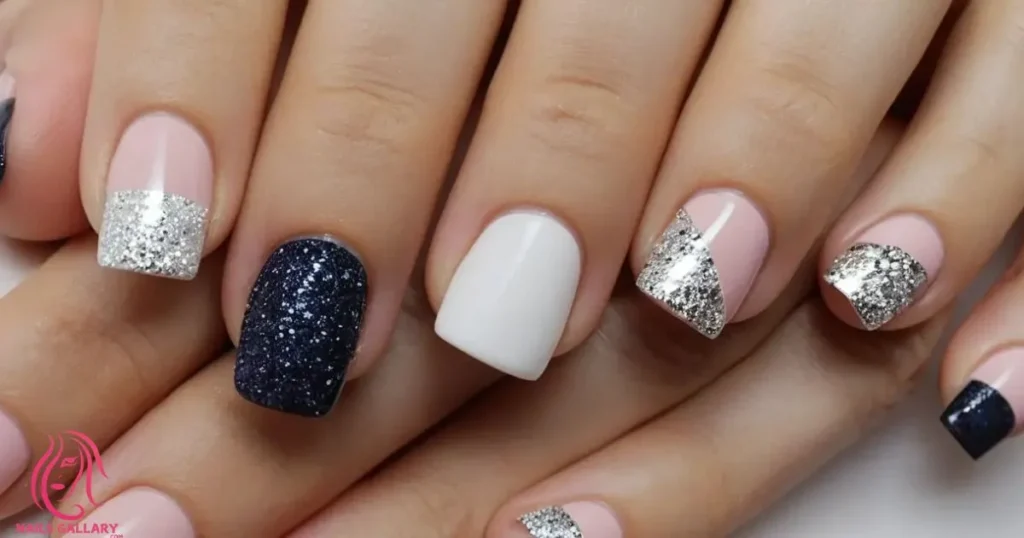
Consider using negative space in your design by leaving some parts of your nails unpainted. This modern technique can add sophistication and balance to the playful Peeps.
22. Layering Colors for Depth
Layer different shades of pastel colors on some nails to create a depth effect. This technique can make the design look more complex and professional.
23. Creating a Peeps Parade Design
Arrange multiple Peeps across a single nail in a “Peeps parade” style. This layout showcases the characters in a fun way, making them the star of your nail art.
24. Incorporating Spring Green Accents
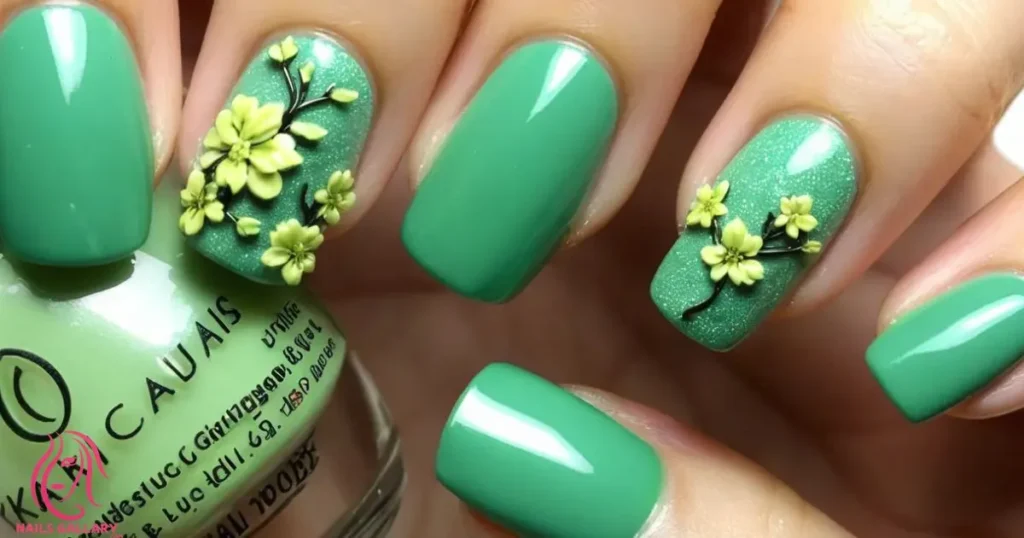
Use spring green accents in your design to mimic grass or foliage. This color can enhance the Easter theme and add freshness to your overall look.
25. Creating a Pastel Candy Stripe Design
Paint pastel candy stripes on some nails for a fun, sweet look. This adds a whimsical touch that ties in perfectly with the Peeps theme.
26. Finishing with a Protective Top Coat
Complete your design with a protective top coat to seal everything in place. This ensures your nail art stays vibrant and chip-free, allowing you to enjoy your Easter Peeps design for longer.
Conclusion
With these ideas and tips, your Easter Peeps Holiday Nail Design will be both fun and festive. Celebrate the spirit of Easter with this playful nail art that captures the joy of the season. Whether you prefer a simple design or a more intricate look, these playful Peeps will bring smiles and sweetness to your nails. Happy decorating!

Hi! I’m Zadie Smith, admin of NailsGallery.com. Our site is your ultimate destination for the latest trends and expert tips in hair, nails, and makeup, empowering you to enhance your beauty with confidence.
